
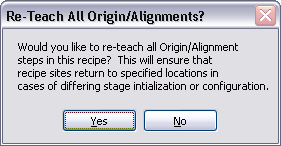
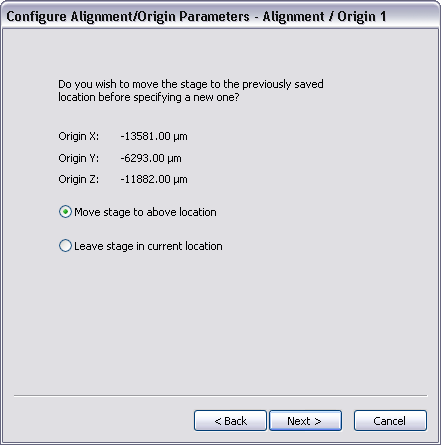
It is highly advisable that re-teach the Alignment / Origin positions every time you open a saved recipe. Not doing so runs the risk of either your tip/sample not being in focus, engaging on the wrong spot or crashing the tip into the sample. Because all sites are referenced to the location specified in the Alignment / Origin node, it is worth spending the extra minute to make sure the origin is in the proper location:
The Run Current option under the Launch menu will initiate the Recipe Runner. All of the nodes of the recipe are listed in sequential order, with a status value for each node. Initially all nodes have a status of "incomplete," and as the recipe runs, one by one the nodes become "complete."
If any node fails during the recipe run, the run will abort and the log will indicate which node failed. The recipe must then be amended to fix the problem and the run restarted from the beginning.
The controls for the Recipe Runner look just like those on your DVD player. Press Play (the triangle) to initiate the recipe run process:
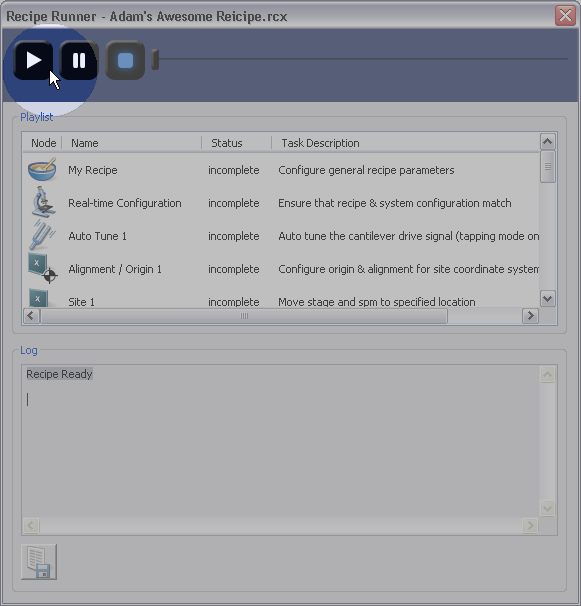
The progress of the recipe's run may be monitored in the Recipe Runner window. When the recipe reaches Measurement 1, the system will begin the engage process. Once engaged, the system will begin the capture process. When it completes the image capture, the system will withdraw and move on to the next node.
If, for any reason, the recipe does not appear to be running properly, press the Stop button, close the Recipe Runner, fix the recipe, and restart the recipe run.
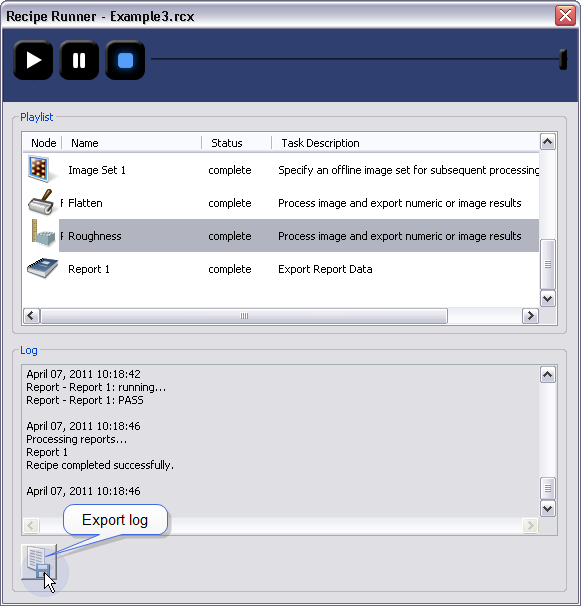
When the recipe is complete, the log will indicate Recipe completed successfully. At this point, if desired, the log may be exported by clicking on the Export log button:
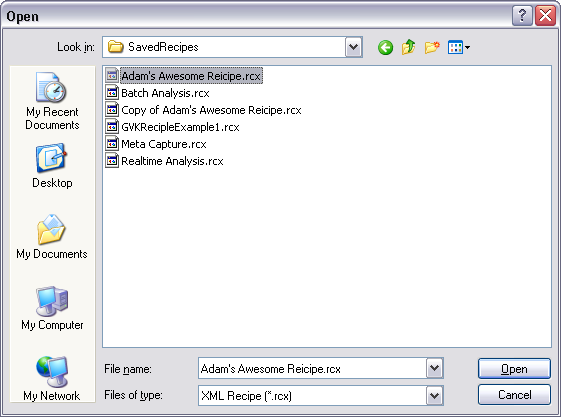
You have successfully created and ran your first recipe. The captured and exported images should be located in the capture directory at:
D:\Capture
An XML report (and a formatted HTML report) of the recipe run should have been created in the reports directory at:
D:\Reports
This can be opened with a web browser.
| www.bruker.com | Bruker Corporation |
| www.brukerafmprobes.com | 112 Robin Hill Rd. |
| nanoscaleworld.bruker-axs.com/nanoscaleworld/ | Santa Barbara, CA 93117 |
| Customer Support: (800) 873-9750 | |
| Copyright 2010, 2011. All Rights Reserved. |